The 3D printer can be a great tool to make texture rollers to use on the surface of your clay forms. Whether it is for pots or sculpture, a strong and relevant texture on your work can be critical to creating an engaging piece. In this exercise, we’ll learn to create a digital model of a texture roller and then print it with a 3D printer.
What you will learn:
– How to duplicate and repeat forms in Tinkercad
– How to stack and group many shapes into one shape
– How to adjust the size and proportions of an object in Tinkercad
– How to cut cylindrical voids out of the solid digital model
– How to prepare your digital model for 3D printing in the slicing software Cura
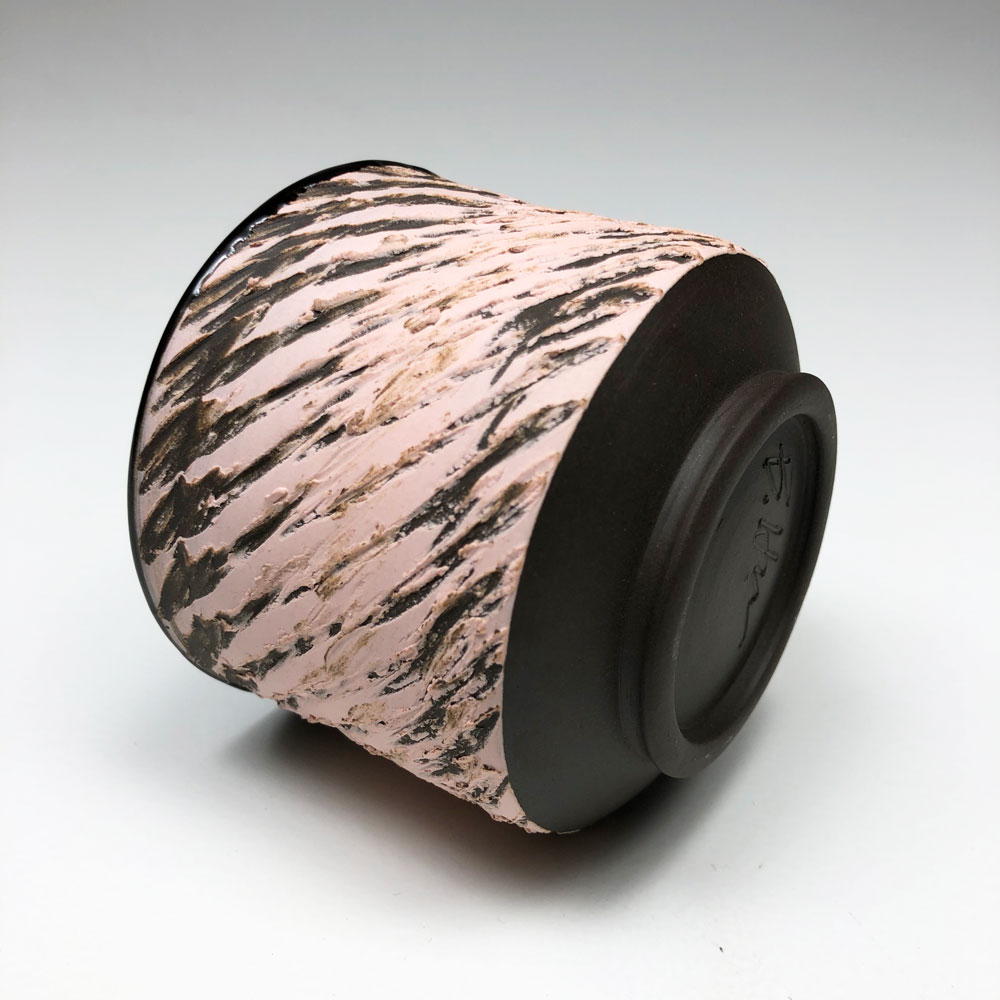
– An assortment of techniques for applying your 3D printed texture roller to wet clay to create unique textures
Before you do the Tinkercad tutorial on this page, make sure you watch and complete the Tinkercad overview HERE. The following tutorial assumes you have completed the overview video first.
There’s also an interesting “tips and tricks” page HERE.
To create your digital texture roller model, follow the steps in this video:
Once you have completed your digital model in Tinkercad, you will need to download your file as an .STL file. This will enable you to then open the file in a “slicing” program that will prepare the model for your particular 3D printer.
A great (and free) slicing software is Cura and you can download that HERE.
This is a tutorial on how to prepare your texture roller digital model for the 3D printer:
Once you have prepared the file and “sliced” it with the settings you need for the 3D printer you will be using, the next step is to save it as a .gcode file and load that file onto the 3D printer.
This is a timelapse video of this file (from the tutorials above) being 3D printed:

Once you have your texture roller 3D printed, the only thing left to do is print a dowel insert. The dowel insert just needs to have a slightly smaller diameter, as well as a “stopper” on one end, so that it’s easier to hold and have the roller spin when you roll it across the clay.
Below is an example of the dowel insert and some texture rollers.
Remember, every texture roller design makes a different texture, so make a collection for yourself, and share and borrow from your peers to experiment.

Now that you have a 3D printed dowel insert for your texture, you’re ready to go! So, get some clay wedged up and experiment! Here are two ways to use your new texture roller on the potter’s wheel!


This video walks you though one way of using your texture roller on handbuilt vessels …

